
For quite some time, raviolis were on the bottom of my list of “to make”. Now, I can check it off!
In March 2021, I decided almost out of the blue, “I’m gonna make raviolis for dinner tomorrow tonight”. But, that was my first mistake. It was a relativity busy day, and of course, it’s the day I chose to make a time-consuming meal. Always happens; don’t think I’ll ever learn to not do that.
I was super excited to start making them. Started with some research from other blogs and Youtube videos.
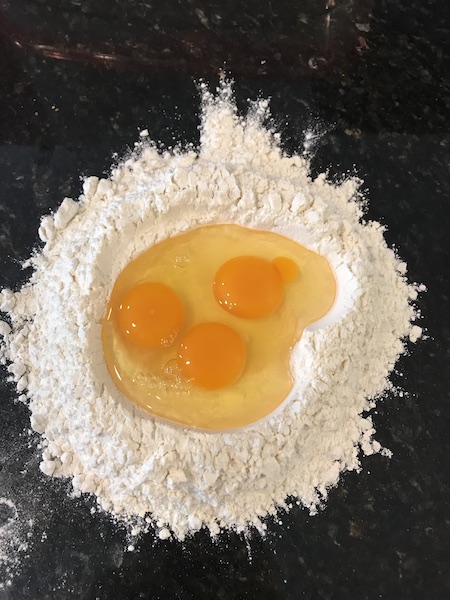
Making the Dough
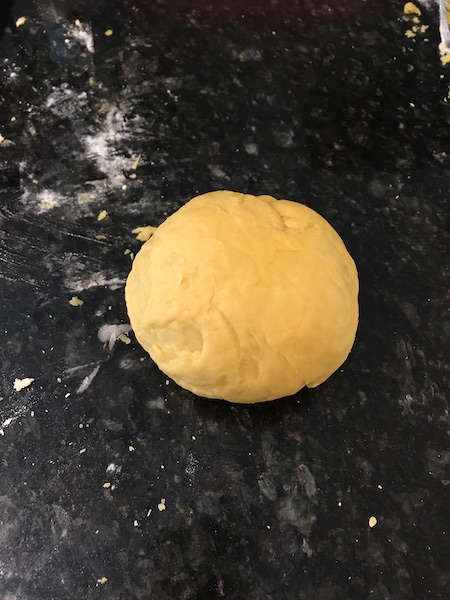
I went online to find a recipe for ravioli dough. I looked at multiple ones and decided to go with this one. I had made pasta dough before, and it turned out great. I made, it but it was a little tough. But I probably worked the dough a bit too much. After I finished mixing it, I put it in the fridge to rest – onto the filling!
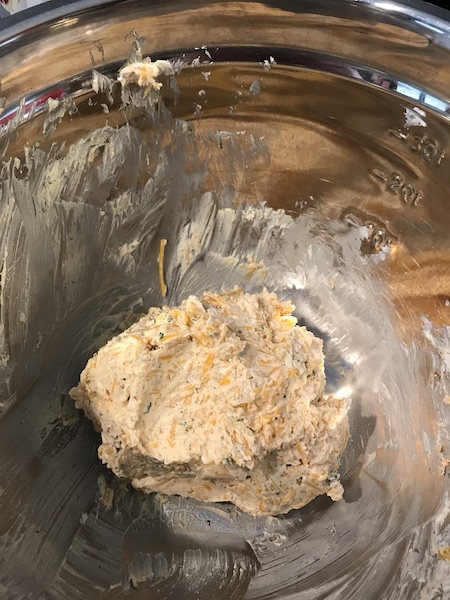
Making the Filling
I was super excited to make the filling! I didn’t have any ricotta (which is what raviolis are usually filled with), so I combined: cream cheese, cheddar, fresh parmesan, sour cream, and some seasonings. It was amazing, I could eat it by itself!
Shaping the Raviolis
This is where the process goes downhill; simply because I didn’t roll the pasta dough out enough. I thought I did, but no. I had to use a good ol’ rolling pin because I don’t have a noodle maker ( not yet! =D ).
I scooped the filling onto the bottom sheet of dough and then I took a brush and spread an egg wash all around it. After that, I got the top sheet and push it all around the mounds of filling, and pressed it tightly to seal everything.
After I did the first sheets of ravioli, I tried a new method of putting the sheets of dough together. Instead of two different ones, I tried to just do one and flip the right side to the other side. It did work, but now that I think about it, that might have made them thicker, because there is more dough involved.
When everything was sealed, I tried cutting them all into squares. Since the pasta sheets weren’t straight, most of the raviolis weren’t square.
After I cut them, I used a fork to make the classic look of a ravioli. While it’s also a nice little design, it also helps to seal the ravioli while cooking.
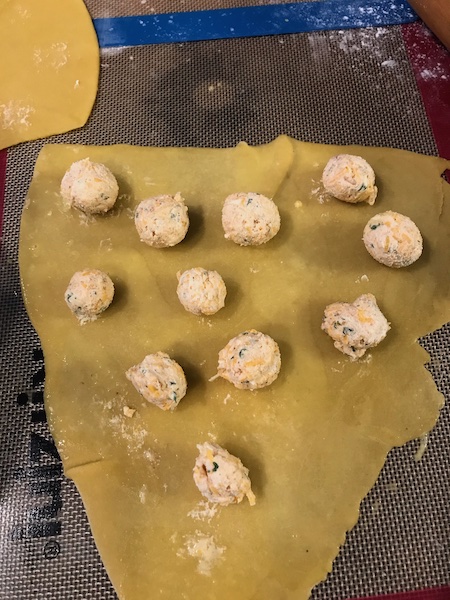
First set of filling
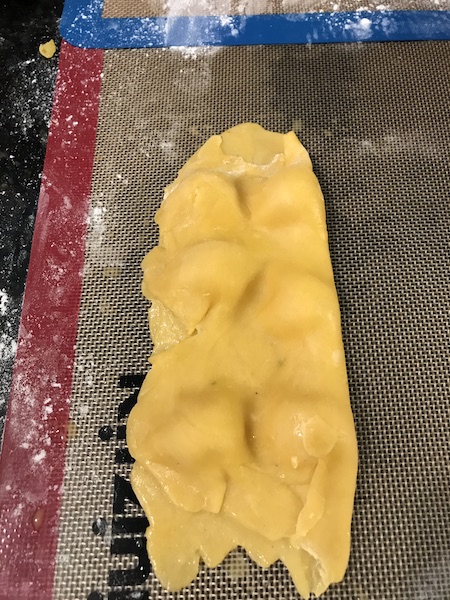
Second set of filled and pressed raviolis.
Cooking the Raviolis
When I finished shaping the raviolis, I put them in a bowl (so they wouldn’t dry out) and sprinkled flour so they wouldn’t stick. I boiled a pot of water and plopped them in. I cooked them until they floated to the top. But, I should have cooked them longer, because they were thicker than they were supposed to be.
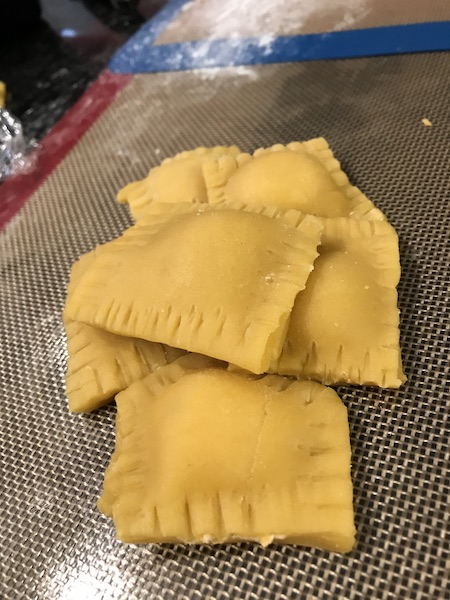
All cooked and ready to be eaten

First set of raviolis vs last set
Conclusion
Overall, they were really good; I would totally make them again! Most of them were really thick, but there were enough that were pretty thin. I served the raviolis with an easy beef-tomato sauce and it was a perfect match! I can’t wait to make them again soon.
Things I’ve learned
- It is extremely important to have that dough nice and thin to get those perfect raviolis
- When rolling out any kind of dough, silicone mats are the best
- I need to plan out the process and approx time before starting, even if I want to do it then and there.
UPDATE:
I made these raviolis again, different noodle recipe and method, but with the same filling. Instead of making and rolling out the dough by hand, my mom had the idea to use the electric noodle maker with the lasagna cap.
If you’re not familiar with this kind of noodle maker, it’s where you add all the flour, egg(s) and water to the mixer bowl. The machine will then mix the ingredients into a dough and push it out to the shape of the cap you choose. In this case, I use the lasagna cap, because I needed a long and flat noodle for the raviolis.
Overall it worked and I’d do it again.
Something I would do next time is try to do a wetter dough. It was a little dry when I tried putting the pieces together to form the ravioli. But I can’t get it too wet, because the machine won’t be able to push it out.
Another thing I wasn’t expecting when the noodle came out, is that there was almost a slit where you could rip the noodle apart. Think of notebook paper and that line where you can easily rip it out. So, by the end, I was also rolling the dough to try and get rid of that line, and it worked pretty well.
I will make these again, with the same method. But making raviolis and really anything with dough takes practice and learning a method!
~Becky 🙂


This was so helpful! I love ravioli so I’ll definitely be trying.
Great! Let me know how it goes! 🙂
Sounds like quite the experience, I have never tried making ravioli without my pasta roller, that would be rough. I’ve had pasta turn out a bit tough bit tough before, in my case it was because the recipe I followed called for more flour than needed, not sure if it’s the case here, just a hurdle I came up against trying to make ravioli.
Great work on the finished product, they look delicious. The filling sounded amazing 😋
Thank you! That may be it 🙂
Looks really good! I feel like I don’t even dare to try making raviolis by myself, but maybe I should 😀
Thank you, It’s super fun! 🙂