
Making a Lemon Blackberry Tart
I made a lemon blackberry tart this past weekend. It was delicious! It was actually my second time making it; I made it for the first time last year for Labor Day.

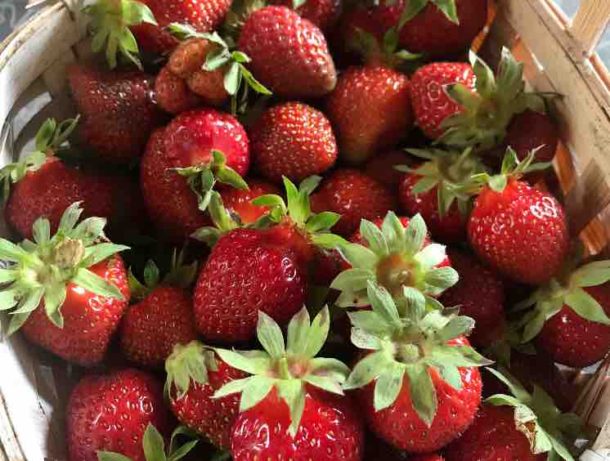
This tart has two layers, a yellow lemon layer and then, on top, a very pretty purplish blackberry layer! It’s a time and egg-consuming tart, but it is so worth it!
Most of the recipe flows very nicely. There are three main steps: the crust, lemon filling, and blackberry filling. You start with the crust, when that’s baking, you do the lemon, and when that’s cooking, you start the blackberry filling!
If you’re a fan of The Great British Bake Off, you can find this recipe in series 11, episode 5!
Now onto the process!
The process:
Time frame:
I made the tart on Friday Morning and put it in the fridge till Sunday evening.
I started prepping the night before (mostly the lemons). Then started around nine in the morning and stuck the tart in the fridge to chill around noon.
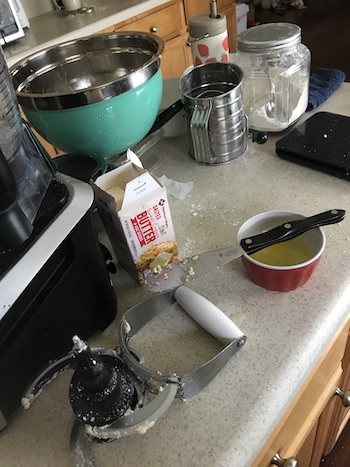
Crust:
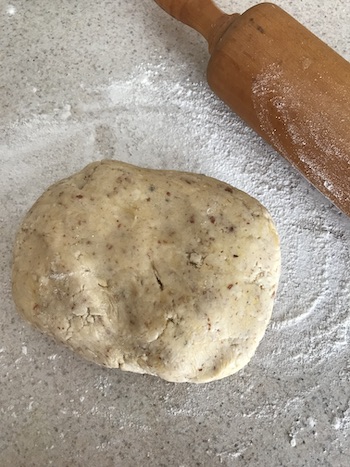
I first started with the crust. It’s a very easy crust with a base of nuts, flour, and butter. You do need to chill it, don’t try and skip that step. The recipe tells you to roll it out, but both times I’ve made this, I wasn’t ever able to. It’s so soft, almost like a sugar cookie dough. What I did was flour the counter and rolling pin very well and barely rolled it out into a rough circle.
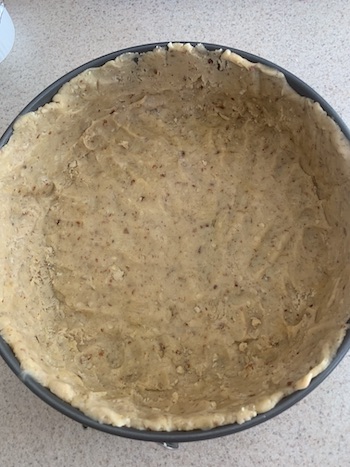
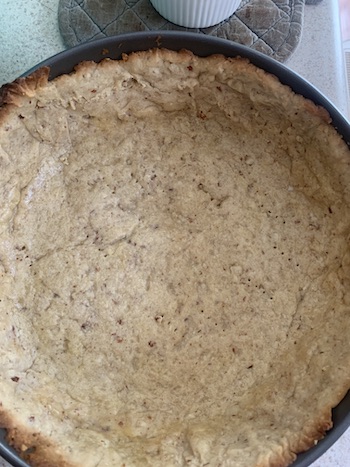
After that, I took a fourth of it and put it in my pan, pressing it in and up the sides. I used most of the dough but did end up having a bit left over. After that, I chilled it for about 30 min while the oven was preheating. Then I blind baked, or prebaked, the crust for 15-20 minutes.
Lemon Filling:
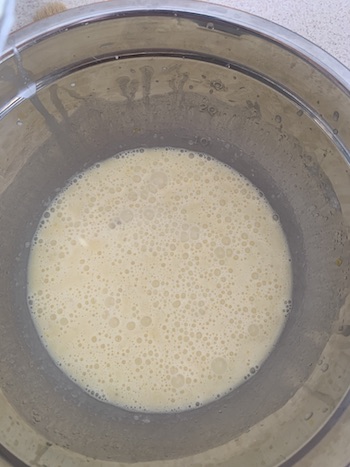
While the crust was baking, I mixed up the lemon filling. This filling is mostly eggs, lemon, and sugar. It is probably the easiest part of this recipe!
Once the crust was finished baking and cooled for a few minutes, add the lemon filling. My crust did shrink a bit, but I had just enough filling! There was still room for the blackberry filling next.
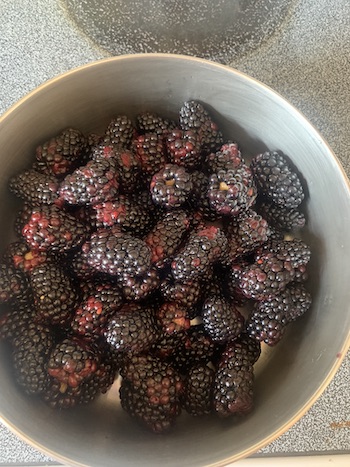
Blackberry Filling:
While the lemon filling was cooking in the oven, I started on the blackberry filling! I cooked the blackberries with a little lemon juice for about 10 minutes. I let them cool for a minute or two, then I put the blackberries through a sieve to take the seeds out. This was probably the most time-consuming part and maybe the messiest.
Once I got the blackberries done, I put them on the stove again, and added some eggs, sugar, and gelatine sheets! This was only my second time using gelatine sheets, the first time was when I first made this in 2021. Sheets are actually very easy to use! Since there are different kinds of grades and kinds, I found a very helpful converter which I’ll link down below.
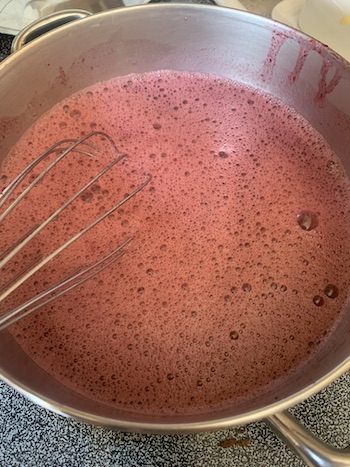
I cooked the mixture till it was thickened. By the time it is thickened, the lemon filling will be cooked and cooling. I poured the blackberry filling on top of the lemon tart, then stuck it into the fridge till Sunday.
It’s a great tart to make ahead for an event or party! It was in the fridge from early Friday afternoon till Sunday evening. When I took it out of the fridge, it was a little dewy on the surface of the tart, but I gently pat a paper towel over it.


This tart fed at least 15 people, though the slices were pretty small. Everyone liked it, and it definitely won’t be the last time I make this!
If you want to make it, do it! If you have any questions, please ask!
I linked the recipe, converter, and more helpful info about gelatine down below.
Notes:
What I did differently:
- I used almonds instead hazelnuts
- Used a 10in a springform pan instead of a tart ring. I took the tart off the pan right before serving
- Don’t rush the chilling time
- I doubled the recipe 2nd time round, and it actually fitted a lot better in the 10in spring form pan! When I made it for the first time, I also used a 10 in springform, but it was a lot more shallow and sad looking.
- I used about 2 silver sheets, which weighed about 7 grams
- I did not cover the tart in the fridge, neither tin foil nor plastic wrap stayed on the pan
- If you don’t own a scale, get one
- Have fun cleaning up your kitchen too
~Becky 🙂


That is a work of art! Wonderful job!! Looks scrumptious!
Thank you! It was very scrumptious 🙂